PC - Youtube
Installing tile can transform the look of any room, whether it’s a bathroom, kitchen, or entryway. While it may seem like a daunting task, with the right tools, preparation, and guidance, you can achieve professional-looking results on your own. This step-by-step guide will walk you through the tile installation process, providing essential tips for DIY success.
1. Plan Your Layout
Before you begin, it’s crucial to plan your tile layout carefully. Start by measuring the area where you’ll be installing the tiles. Use these measurements to determine the number of tiles you’ll need, factoring in a small percentage for waste and cuts. Plan your layout so that any cut tiles are positioned in less visible areas, such as the edges or corners. Dry-lay your tiles on the floor to visualize the pattern and make adjustments as needed. This step will help you avoid surprises later and ensure a balanced, symmetrical design.
2. Prepare the Surface
A smooth, clean, and level surface is essential for successful tile installation. Whether you’re tiling over a floor, wall, or countertop, make sure the surface is free of dust, dirt, grease, and old adhesive. If the surface is uneven, you may need to sand it down or use a self-leveling compound. For walls, ensure that any drywall or backer board is securely fastened and in good condition. Proper surface preparation will help the tiles adhere better and prevent issues like cracking or shifting over time.
3. Gather Your Tools and Materials
Having the right tools and materials on hand will make the installation process smoother and more efficient. Here’s a basic list of what you’ll need:
- Tiles
- Tile spacers
- Tile adhesive or thin-set mortar
- Notched trowel
- Tile cutter or wet saw
- Grout
- Grout float
- Sponge
- Level
- Measuring tape
- Chalk line
- Bucket and mixing tools
Make sure to choose an adhesive and grout that are suitable for your specific type of tile and the area where you’re installing it.
4. Mix and Apply the Tile Adhesive
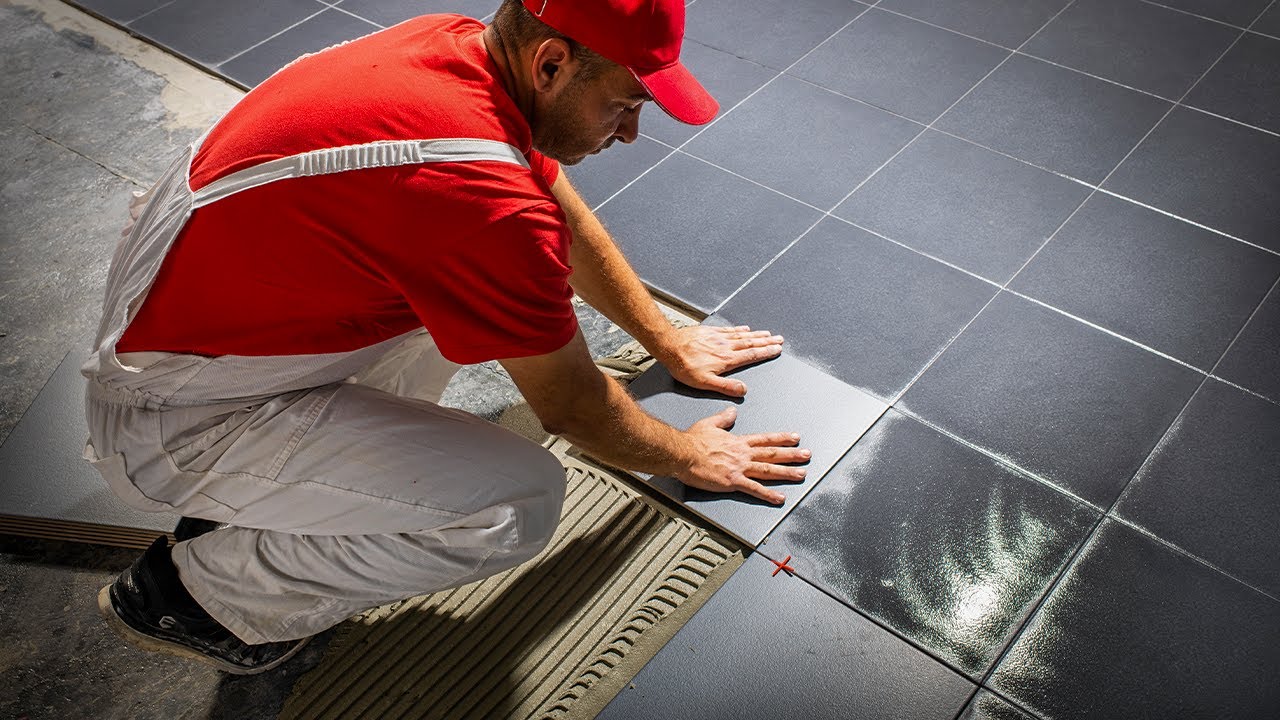
Mix the tile adhesive according to the manufacturer’s instructions, ensuring a smooth and consistent texture. Using a notched trowel, spread a thin layer of adhesive over a small section of the surface—working in sections will prevent the adhesive from drying out before you have a chance to set the tiles. Hold the trowel at a 45-degree angle to create ridges in the adhesive, which will help the tiles adhere securely. Start with the most visible area and work your way out, pressing each tile firmly into the adhesive and using tile spacers to maintain consistent gaps between them.
5. Cut and Fit Tiles as Needed
Inevitably, you’ll need to cut some tiles to fit around edges, corners, or fixtures. Measure the space where the tile will go and mark the tile accordingly. Use a tile cutter for straight cuts or a wet saw for more intricate shapes. Always wear safety goggles when cutting tiles to protect your eyes from debris. Once cut, place the tile in position, ensuring it fits snugly with the surrounding tiles. Continue laying full and cut tiles until the entire area is covered.
6. Let the Adhesive Set
After you’ve laid all the tiles, allow the adhesive to set according to the manufacturer’s instructions—this usually takes 24 to 48 hours. Avoid walking on or disturbing the tiles during this time to ensure they bond properly to the surface. Check the tiles periodically to make sure they are still aligned and the gaps are consistent. Once the adhesive has fully set, you can remove the tile spacers in preparation for grouting.
7. Mix and Apply Grout
Mix the grout according to the manufacturer’s instructions until it reaches a smooth, peanut butter-like consistency. Using a grout float, apply the grout at a 45-degree angle to the tile surface, working it into the gaps between the tiles. Ensure that all the joints are filled evenly, and remove excess grout from the tile surface as you go. Allow the grout to set for about 15 to 30 minutes, then use a damp sponge to wipe away any remaining grout haze from the tiles, rinsing the sponge frequently.
8. Seal the Grout
Once the grout has cured, usually after 24 to 72 hours, it’s important to seal it to protect it from moisture, stains, and mildew. Choose a grout sealer that is compatible with your grout type, and apply it according to the manufacturer’s instructions. Sealing the grout will extend the life of your installation and keep it looking clean and fresh.
9. Final Touches
After the grout sealer has dried, give the tiles a final clean with a soft cloth or mop. Inspect your work to ensure all tiles are secure and level, and that the grout lines are consistent. If necessary, touch up any areas that need extra attention. Finally, reinstall any trim, fixtures, or appliances that were removed during the installation process.
Conclusion
Tile installation is a rewarding DIY project that can greatly enhance the look and value of your home. By following these step-by-step tips, you can achieve a professional-quality finish that will last for years to come. Remember to plan carefully, take your time, and pay attention to detail throughout the process. With patience and the right approach, you’ll be able to transform any space with the beauty and durability of tile.


